That Time I Fried My Circuit Board
So last Tuesday I was building this power converter for my 3D printer upgrade. Hooked everything up, flipped the switch, and BAM! Magic smoke everywhere. Turned out my cheap MOSFET couldn’t handle the startup surge. Felt like an idiot frying $30 worth of parts.
Digging Through Datasheets
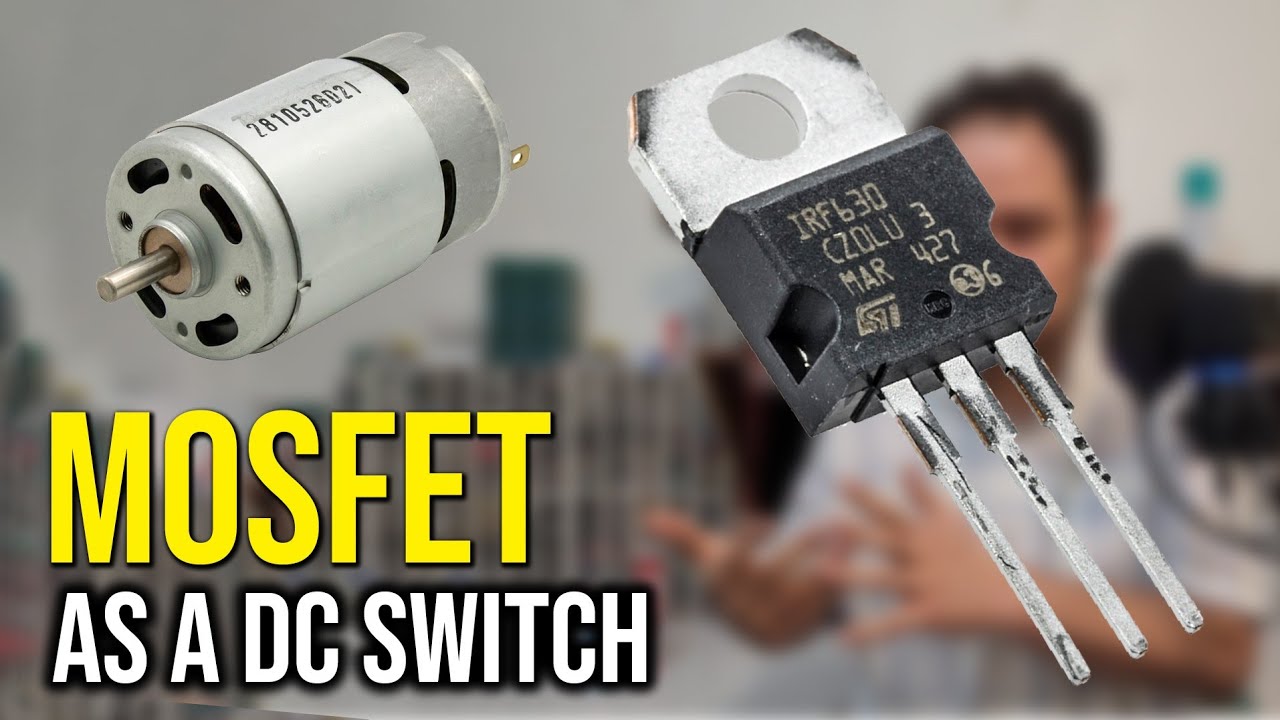
Went crawling through my parts bin trying to find replacements. Grabbed three random MOSFETs with “high current” labels. Started comparing datasheets and realized I had zero clue what numbers actually mattered. Spent three hours drowning in terms like Rds(on) and Vgs(th).
The Lightbulb Moment
Finally called up Dave from the electronics club. He goes: “Quit overcomplicating it, just watch these five things:”
- First was continuous current rating. Measured my printer’s actual load with a clamp meter – 18A peaks! My fried MOSFET was only rated 15A.
- Checked gate threshold voltage. My Arduino outputs 5V, but two MOSFETs needed 10V to fully turn on. Dumb mistake.
- Looked at on-resistance (Rds-on). Found one with crazy low 0.002 ohms. Tested with power supply – ran ice cold under load!
- Verified thermal specs. Held my finger on each MOSFET running at 20A. The cheap one burned me in 30 seconds.
- Considered packaging. Wanted TO-220 for easy heatsink mounting instead of surface-mount.
The Real-World Test
Picked an IXFH50N60P3 based on Dave’s advice. Felt nervous powering up. But this time? No fireworks! Let it run for an hour while checking temp. Heatsink stayed lukewarm, printer ran smoother than ever. Felt so proud I took victory shots of my multimeter readings.
Lessons Wired In
Stuck the fried MOSFET on my “wall of shame” as a reminder. Key takeaway: datasheets lie until you test under YOUR conditions. Next project I’m buying five different MOSFETs to bench-test first. Saved my printer and my pride.