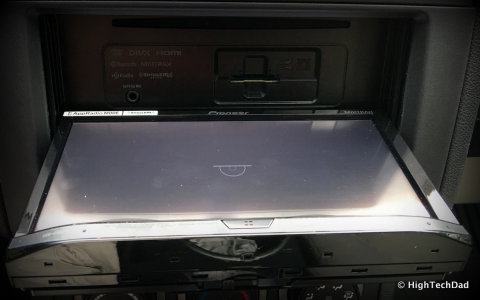
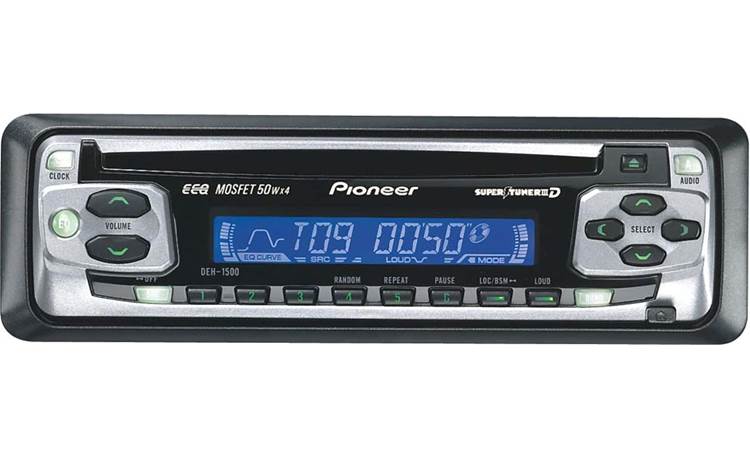
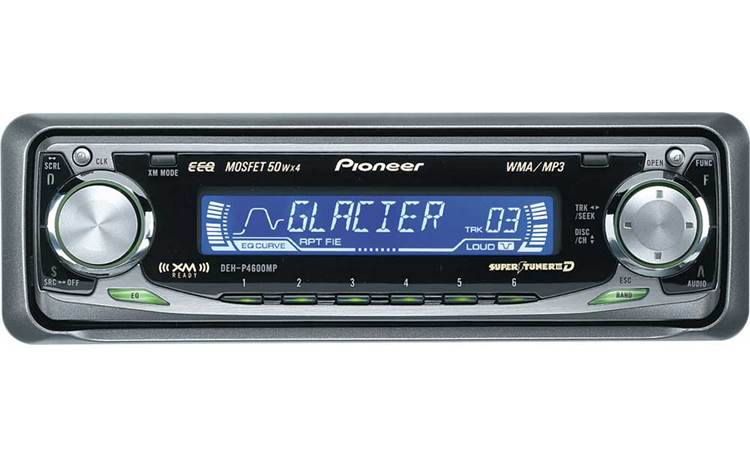
Alright, let me tell you about this little project I tackled recently. It’s all about breathing some new life into an old car stereo – a Pioneer Super Tuner III D, specifically. The goal? Get it pumping out some decent sound with a MOSFET amplifier, rated at 50 watts x 4 channels.
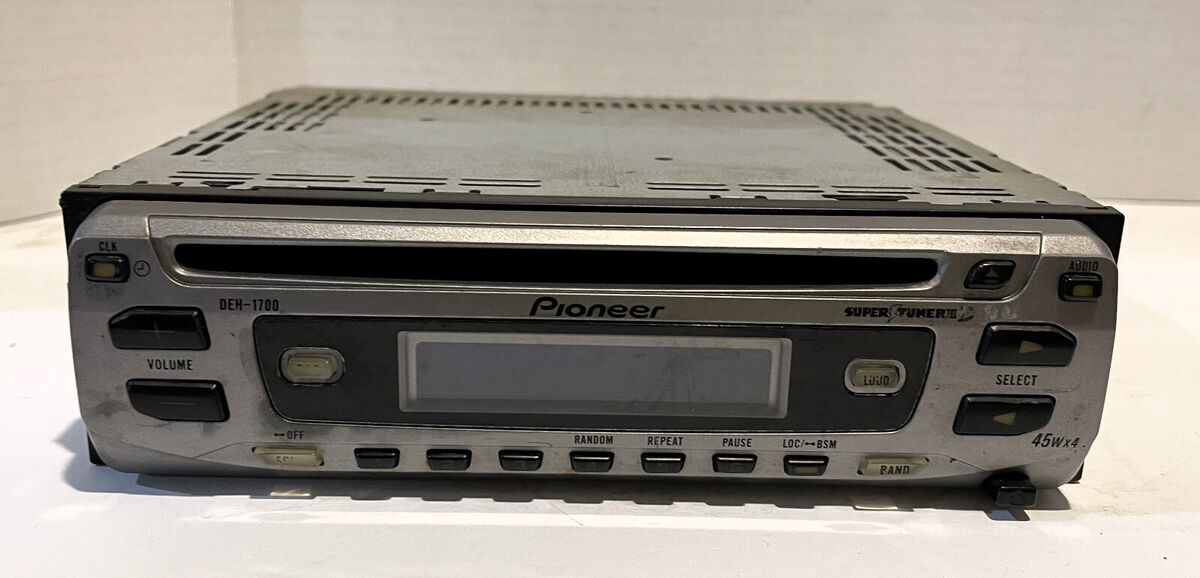
First things first, I had to dig out the head unit. This thing’s been sitting in my garage for ages, gathering dust. Gave it a good wipe down and took a closer look. It’s actually in pretty decent shape, considering its age. Next, I started gathering the parts I needed. I had a few MOSFET amplifier boards lying around from previous projects – salvaged from old car amps and such. I picked the one that seemed most suitable for the job.
The Plan: Integrate the amplifier board with the Pioneer head unit. Sounds simple, right? Well, not exactly. These older head units don’t have line-out jacks like the newer ones. So, I had to tap into the existing speaker outputs. This is where things can get a bit tricky, as you need to be careful not to overload the head unit’s internal amplifier. Resistors are your friends here!
The Execution:
- I carefully unsoldered the speaker output wires from the head unit’s PCB.
- Then, I soldered resistors (about 100 ohms, 1/2 watt) in series with each speaker output wire. This creates a voltage divider, reducing the signal level going to the MOSFET amplifier board.
- Next, I connected the resistor outputs to the input of the amplifier board.
- Powering the amp was the next hurdle. I tapped into the head unit’s 12V power supply, adding a fuse for safety. Remember to always use a fuse!
- Grounding is crucial. I made sure the amplifier board and the head unit shared a common ground point to avoid any nasty ground loops.
The Testing Phase:
Once everything was wired up, it was time for the moment of truth. I hooked up a test speaker and powered on the head unit. Success! Sound was coming through! But… it was a bit distorted at higher volumes. Time for some troubleshooting.
I fiddled with the input gain on the amplifier board, adjusting it until the distortion disappeared. It took some tweaking, but eventually, I got it sounding pretty clean. After that, I connected all four speakers and cranked it up. Not bad at all! The MOSFET amplifier definitely added some punch compared to the head unit’s original internal amp.
The Final Touches:
To keep everything tidy, I mounted the amplifier board inside the head unit’s chassis. Had to be careful to avoid any shorts or interference. Used some hot glue to secure everything in place. Not the prettiest solution, but it works!
The Result:
Now I have a vintage Pioneer Super Tuner III D with a beefed-up amplifier. It’s not going to win any sound quality competitions, but it’s a fun little project that brought an old piece of equipment back to life. Plus, it sounds way better than it did before. Not bad for a weekend project!
Lessons Learned:
- Always use resistors when tapping into speaker outputs to avoid overloading the external amplifier.
- Proper grounding is essential to prevent noise and distortion.
- Take your time and double-check your wiring before powering anything on.
- Fuses are your best friends. Don’t skip them!
That’s pretty much it. A fun little dive into the world of car audio modification. Now, what should I tinker with next?