My MOSFET Adventure
So, my trusty old airsoft rifle, right? It started acting a bit… sluggish. You know the feeling. Pull the trigger, and there’s that tiny delay, that little bit of hesitation before it fires. Super annoying, especially when you’re trying to get a quick shot off. Plus, I was pretty sure the trigger contacts were getting all chewed up. Heard that sparking sound a few too many times. Not good.
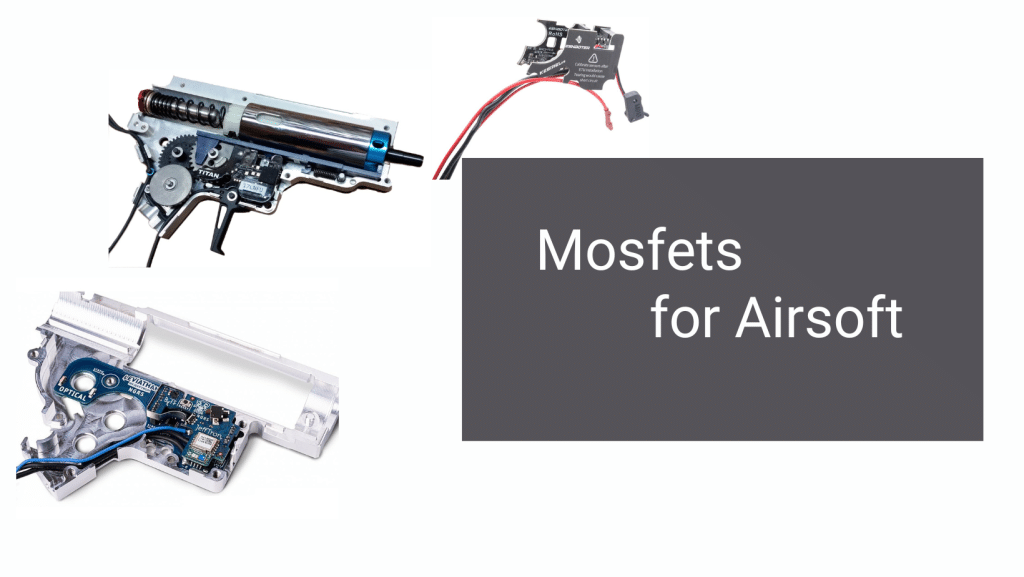
I’d been reading around, forums mostly, and everyone kept talking about MOSFETs. Sounded like black magic at first, not gonna lie. But the more I looked into it, the more it made sense. Basically, it stops all that heavy current from frying your delicate trigger switch. Sends it straight to the motor. Simple, right? Well, simple in theory.
Getting Started – The Plan, Sort Of
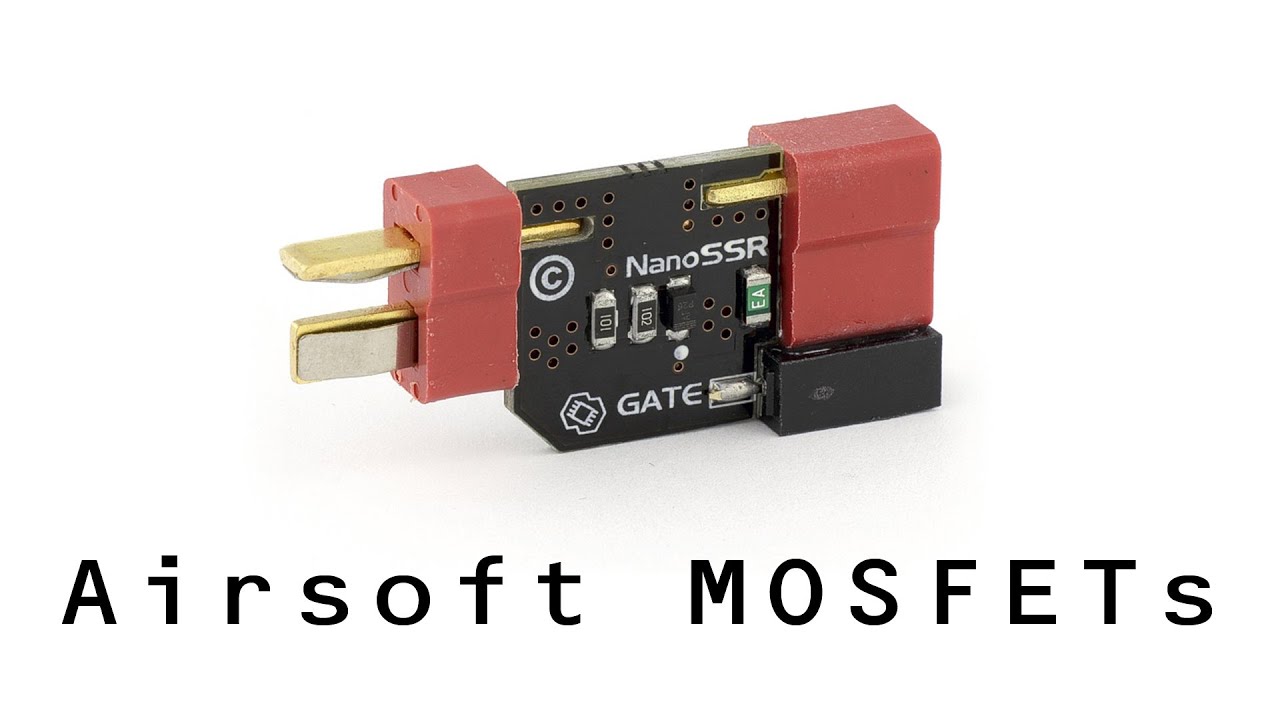
Decided I was gonna do it. How hard could it be? Famous last words, I know. I wasn’t aiming for some super complicated programmable thing. Just a basic MOSFET to protect the trigger and maybe get a bit better response. Ordered a kit online – one of those pre-wired-ish ones, but you still gotta do the main connections. And a new soldering iron tip, because my old one looked like it’d been through a war.
The parts arrived. Looked at them. Looked at my gun. Okay, game on.
The “Fun” Part – Taking it All Apart
First up, cracking open the gearbox. Man, I always dread this part. Springs, gears, shims… little things just waiting to ping off into another dimension, never to be seen again. Took it slow. Laid out a white towel so I could see any escapees. Managed to get it open without too much drama this time. Phew.
Then it was time for the wiring. The old trigger switch wires had to come off. My soldering skills are, let’s say, ‘enthusiastic amateur’. I try my best, but it ain’t always pretty. Got the signal wires onto the trigger switch. Tiny little tabs, those things.
Wiring Up the MOSFET
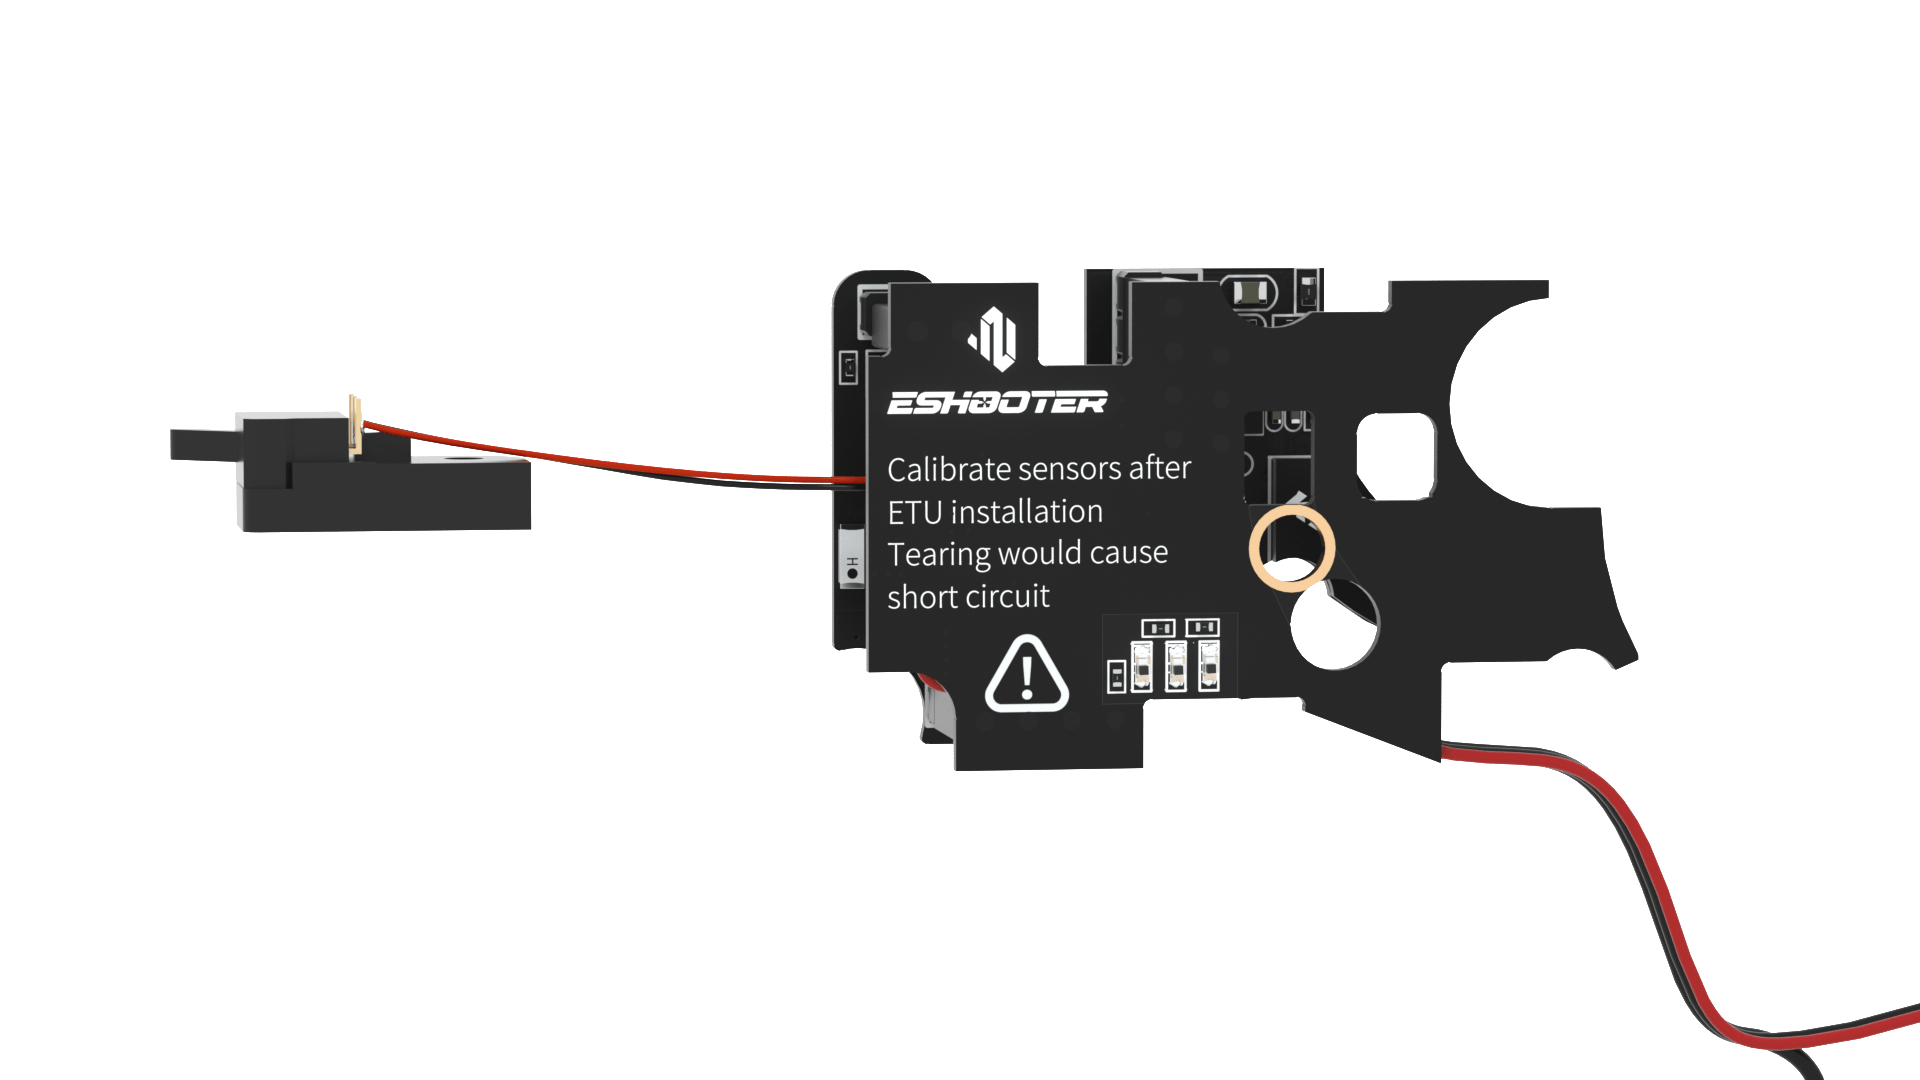
Next, the MOSFET itself. This little black rectangle with its wires sticking out. Had to solder the main power wires from the battery connector to it, and then from the MOSFET to the motor. Used some heat shrink tubing on all the connections. Don’t want any shorts, that’d be a bad day. It’s a bit fiddly, trying to hold the wire, the solder, and the iron all at once with only two hands. You know how it is.
The trickiest bit was figuring out exactly how to route the new wires. There’s not a lot of spare room in an AEG, especially around the gearbox. Had to kind of visualize where everything would sit once it was all closed up. Did a couple of dry fits. Moved wires around. A bit of gentle persuasion here and there.

Putting Humpty Dumpty Back Together Again
Once I was reasonably sure nothing was going to get pinched or shorted, it was time to close up the gearbox. This is another moment where you hold your breath. Lined everything up. Gently pushed it together. Screws back in. Yes! It closed.
Then reassembling the rest of the gun. Pushing the gearbox back into the receiver, connecting the motor, getting the pistol grip back on. All that stuff. It’s always a relief when it starts looking like a gun again.
The Moment of Truth
Alright, everything back together. Double-checked all the external bits. Battery connected. Took a deep breath. Pointed it in a safe direction, obviously. Finger on the trigger.
And… BAM! It fired. And again. And again. The trigger response felt… wow. So much quicker. Snappy. Like, a night and day difference. No hesitation at all. And no more weird electrical smell. Success!
Was it Worth It?
Heck yeah, it was worth it. Took an afternoon, a bit of patience, and maybe one tiny burn on my finger (classic). But the gun feels brand new again. It’s not a super complicated mod, but it makes a huge difference. If you’re on the fence about doing a MOSFET in your airsoft gun, I’d say go for it. Just take your time, watch a few videos, and don’t be afraid to get your hands dirty. It’s pretty satisfying when you get it done yourself.