My Struggle with MOSFET Stuff
Started messing around with MOSFETs today ’cause my project needed this precise control thing for switching stuff on/off. Grabbed a random MOSFET from my junk bin – looked like a tiny flattened bug with metal legs.

First dumb move: Hooked up power straight to the legs without reading anything. Thing got hotter than my phone charger during gaming. Smelled like burnt plastic fast. Turned everything off quick while coughing. Lesson one: Don’t be lazy. These things need special preparation before powering up.
Figuring Out the Biasing Thing
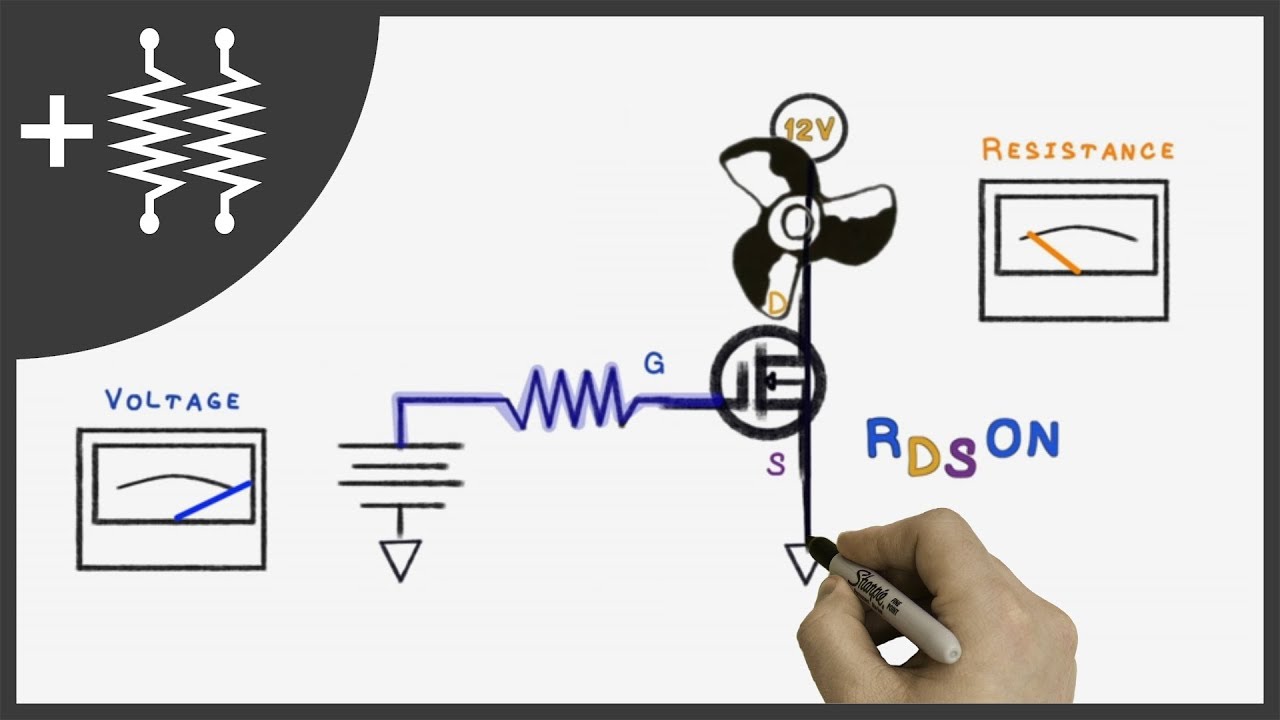
Finally opened the boring PDF document for my MOSFET model. Discovered they need this “biasing” setup. Basically means setting up the control pin with just the right voltage before it works properly.
Grabbed my power supply box and did this:
- Connected the main power legs to my battery pack
- Used a little screwdriver knob to slowly turn up voltage on the control pin
- Watched my test light bulb like a hawk
Suddenly around 3 volts – boom! Light flickered on weak like dying flashlight. Kept turning that knob slowly… at 4.5 volts it blazed bright like car headlight. That magic moment was the biasing point!
Why This Matters
Without doing this voltage prep step:
– MOSFET either stays dead (light off)
– Or gets stuck halfway (dim light)
– Or overheats and dies (burnt smell)
The biasing thing solved everything. Set it to that sweet spot voltage, the MOSFET became super responsive like game controller button.

Important stuff I scribbled in my notebook:
– Always find the biasing voltage range from the paper that comes with the part
– Use adjustable power or knob for control pin
– Test slowly while watching output carefully
– Burned components smell bad, open windows first

– Biasing = setting the control voltage before asking it to work
Finished by building little automatic night light circuit using this trick. Works perfectly now! Feel like I actually understand these little black bugs now.